
Seedance 2.5 vs 2.0: A Practical Choice Guide
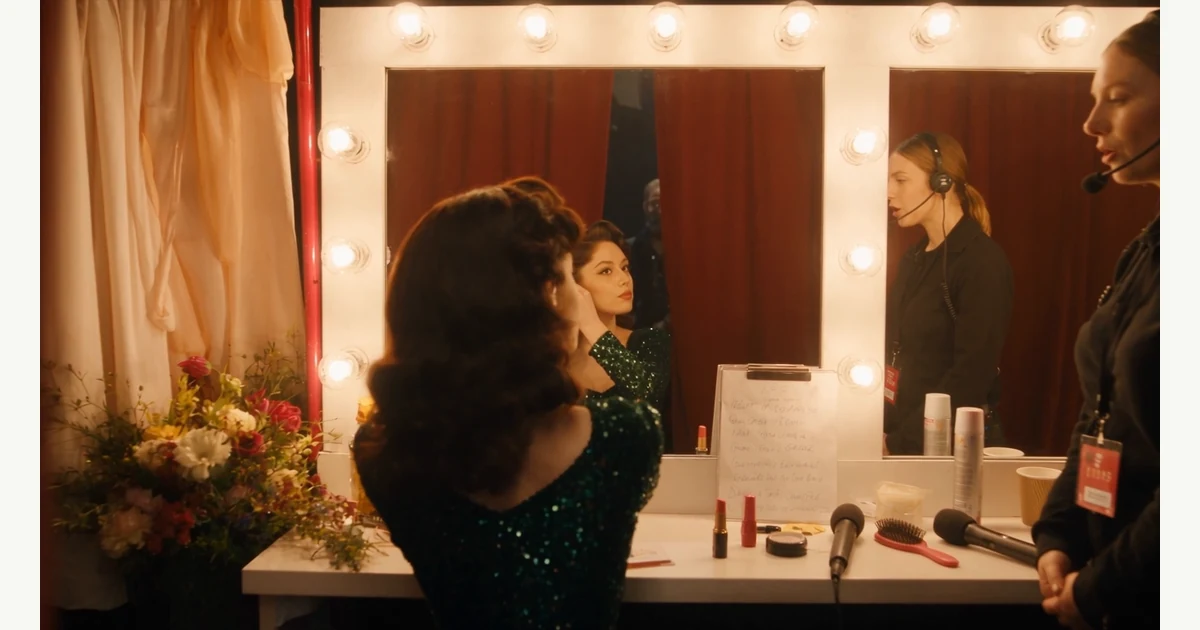
Source: ByteDance Seed's Seedance 2.5 announcement, backstage performance demo, 00:03. Official model sample; not a Monipix test.
Choosing Seedance 2.5 vs 2.0 starts with the video you need to deliver. A short product shot and a connected story place different demands on duration, references, and editing. This guide explains the differences, then walks you through creating a first clip with Seedance 2.0 in Monipix.
Quick answer: use Seedance 2.0 in Monipix to start a short image-led or text-led video. Evaluate 2.5 when you specifically need its longer scenes, larger reference sets, or targeted editing. For a product reveal or a simple animated photo, start with one clear brief and judge the resulting clip before expanding the project.
Have an image ready? Create your first Seedance 2.0 video in Monipix. Upload it, select Seedance 2.0, and describe the movement you want.
Sources checked October 4, 2026. This is a documentation-based comparison. The images are frames from official model demonstrations, not a controlled comparison or Monipix-generated outputs.
What changed between the two versions
ByteDance introduced Seedance 2.0 in February 2026 and Seedance 2.5 in July 2026. Both announcements describe multimodal video creation. The later release expands the stated duration and reference limits and emphasizes more precise editing.
Official announcement comparison:
| Capability | Seedance 2.0 | Seedance 2.5 |
|---|---|---|
| Single generation | Up to 15 seconds | Up to 30 seconds |
| Reference images | Up to 9 | Up to 30 |
| Reference videos | Up to 3 | Up to 10 |
| Reference audio clips | Up to 3 | Up to 10 |
| Editing and continuation | Video editing and extension | Timestamp-level editing and multiple extension rounds |
These are model-announcement specifications, not a promise about every app, account, resolution, or plan. Do not add the separate reference limits together and assume every combination is accepted. Check the upload limits and supported modes in the exact interface you intend to use.
Start with a delivery brief
Write down the finished asset before choosing a model. For example: a vertical clip that introduces one ceramic mug, shows the handle clearly, and ends with room for a caption. That is a more useful requirement than asking for a cinematic video, because you can inspect whether each result delivers it.
Include the final aspect ratio, approximate duration, required subject details, and where the video will appear. Separate essential details from optional styling. A product silhouette may be essential; a moving reflection might be optional. This distinction keeps an attractive result from passing review when the product itself has changed.
Next, identify the bottleneck. Is the current clip too short? Does the subject change between shots? Is a small correction forcing you to restart the whole scene? Choose the new workflow around that bottleneck. A larger model specification matters only when it removes work from the actual production process.
When to keep your 2.0 workflow
Keep an established setup when the brief fits its available controls and you already have a dependable way to review the output. A new version is a reason to run a comparison, not an automatic reason to replace a process. This is especially relevant when other people depend on your asset naming, review steps, and export settings.
For a simple product reveal, begin with one subject and one camera movement. If the result preserves the product, provides the needed opening frame, and gives you a usable ending, a longer generation may offer little practical benefit. You can spend the remaining effort on pacing, captions, or selecting the strongest take.
Record the settings of successful clips. Keep the reference file, prompt, model label, duration, and output together. This gives you a baseline for later comparisons and makes it easier to notice a changed setting instead of attributing every difference to the model version.
When to evaluate 2.5
Evaluate the newer version when the brief needs a connected progression that is awkward to split into separate clips. A useful test might follow a maker from a workbench to a display shelf, with the object remaining recognizable throughout. The evaluation question is whether the additional continuity helps the finished story.
More reference capacity is also useful only when each reference has a clear purpose. Label which image establishes the subject, which establishes the location, and which suggests the visual treatment. Remove contradictory references before adding more. Otherwise, a larger input set can make your own creative direction harder to understand.
For targeted editing, define the smallest requested change and list what should remain stable. Then inspect both regions: the requested edit and the rest of the clip. A corrected object is not a successful revision if the character, lighting, or timing elsewhere becomes unsuitable for the project.
Ready to apply the comparison? Animate your image with Seedance 2.0 in Monipix. Start with a product photo or original illustration and give it one deliberate movement. Monipix currently lists Seedance 2.0 and Seedance 2.0 Fast; this guide's discussion of 2.5 does not imply that version is available here.
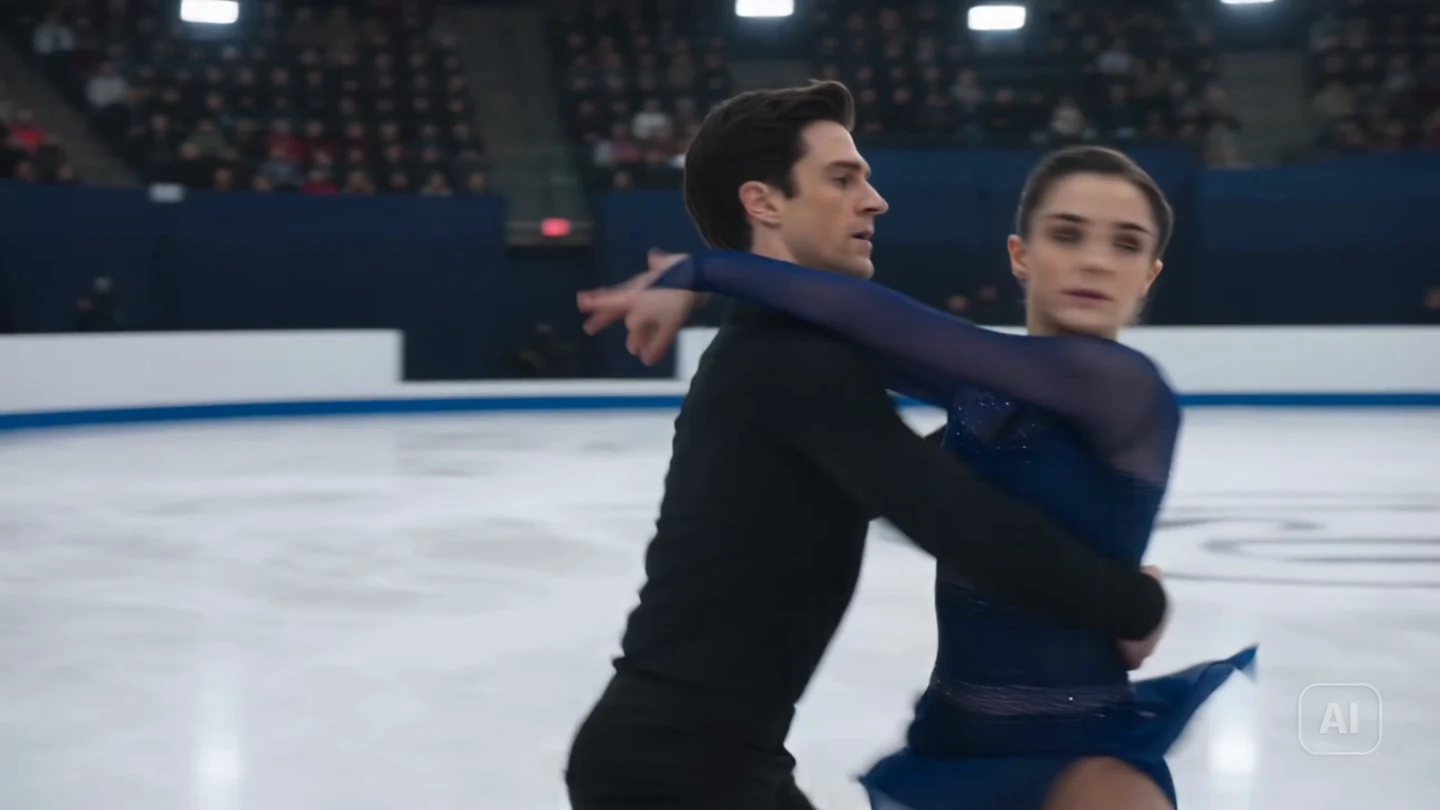
Source: ByteDance Seed's Seedance 2.0 announcement, figure skating demo, 00:03. A still illustrates the scene; watch the original sample to evaluate motion.
Run a useful comparison without fooling yourself
Compare the same achievable task first. Keep the source image, prompt, aspect ratio, and duration as close as the two interfaces allow. A short clip on one platform and a longer, differently framed clip on another is a workflow comparison, but it does not isolate model quality.
Use a small written acceptance checklist. For the mug example, inspect the number of handles, the outline of the rim, the stability of its position, and whether the final frame leaves the intended caption space. Watch the whole clip as well as individual frames: a sharp still can conceal a distracting transition.
Record every attempt in the comparison set, including rejected clips. Note why each one failed the brief. Do not choose one impressive result from many attempts and compare it with another model's first result. If you cannot run a balanced test, describe the outputs as examples rather than a ranking.
Track the total effort needed to reach a usable deliverable: generation, retries, review, editing, and export. Keep costs in the units shown by each provider. Credits from different platforms are not automatically equivalent, and an advertised price per second may not describe your entire finished-video cost.
A simple brief you can adapt
The following is an original planning example, not a tested Seedance output or guaranteed prompt. Adjust its duration and controls to the selected interface.
Create a short vertical product shot of the ceramic mug in the reference.
Keep its outline, handle, glaze color, and position consistent.
Begin with the full mug visible on a wooden table.
Move the camera slowly closer while keeping the mug centered.
Use soft window light from the left and a quiet, uncluttered background.
End on a stable frame with clear space above the mug for a caption.
For a longer story, outline a beginning, change, and ending before adding camera directions. Make sure each beat contributes something the viewer needs to understand. If the sequence can be shortened without losing meaning, a longer maximum duration is not a reason to fill the extra time.
Make your first Seedance video in Monipix
Use the mug brief above as a starting point, or adapt it to a product or illustration of your own. Choose the entry that matches what you already have:
- Have a picture: open Monipix Image to Video and add your source image. Describe what should move and what should stay recognizable.
- Starting with words: open Monipix Text to Video and paste a scene description. Give it one subject, one action, and a clear ending.
- Choose Seedance 2.0: check the model label in the composer. Monipix also lists Seedance 2.0 Fast as a separate option; keep the same variant while comparing attempts.
- Set the output: choose the aspect ratio and the duration and resolution available under Advanced. Review the displayed credit requirement before selecting Generate.
- Review the clip: check subject shape, camera movement, and the final frame. Revise the most important failure in the prompt before making another attempt.
For the product example, begin by asking for a slow move toward the mug. Once you have a usable result, adapt the same approach to a wider crop or a different background. Keep the original source and your successful prompt together so your next video starts from a concrete brief.
Key takeaways
- Choose around a specific delivery problem, not the version number alone.
- Treat official model limits and platform controls as separate checks.
- Compare the same task and keep rejected attempts in your records.
- Judge the finished clip, including the work needed to make it usable.
Put the comparison to work: make a Seedance 2.0 video in Monipix. Bring one image, use the prompt above, and turn the idea into a clip you can review. If your idea starts with words, create it with Seedance text-to-video.
FAQ
What is the main Seedance 2.5 vs 2.0 difference?
The clearest documented differences concern generation length, reference capacity, and editing control. Those changes are useful when they address a specific limit in your project. They do not establish that every platform exposes the same controls or that every result will look better. Begin with your delivery brief and verify the interface you plan to use.
Is upgrading necessary for short product videos?
No, upgrading is not automatically necessary when your existing workflow meets the brief. Check whether the output preserves the product, supports the intended crop, and provides usable opening and closing frames. Evaluate a new model when you can name a concrete problem it might solve, and compare the same task before changing your process.
How should I compare video quality fairly?
Use the same source material, creative brief, and comparable settings, then inspect every attempt in the test set. Record failures as well as successes and evaluate motion across the entire clip. If the platforms require different settings, explain those differences. Present a limited experiment as a limited experiment rather than a universal quality ranking.
How do I use Seedance in Monipix?
Open Monipix Image to Video for a source photo, or Text to Video for a written scene, and select Seedance 2.0 in the composer. Add your prompt, choose the available output settings, and review the credit requirement before generating. Seedance 2.0 Fast is also listed; this article does not claim that Monipix offers 2.5.